A picture says a thousand words!
An old saying but one that is so true especially when writing a blog! Not only that, but including a picture into your blog post can enhance the content, breaking up those realms of text for your readers. It also makes any post look far more attractive to look at if it is accentuated by lot’s of nice photos and pictures to illustrate your story or post. Writer allows you to quickly and easily add photos and pictures into your text. Then it also allows you to do a multitude of different things with those pictures. Place then where you want to inside your text, resize them to any size you like, add different borders and effects to them, add a caption and even add to your blog post a whole photo album if you want to! So let’s take a look at some of the possibilities with your pictures inside Writer shall we?
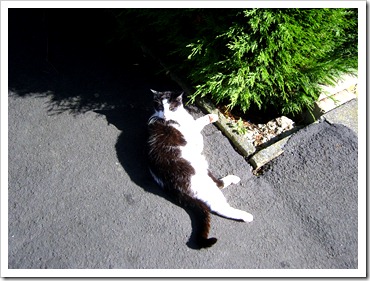
1. To add a picture from your photo’s on your computer, firstly place your cursor where you wish the picture to be placed inside your text and then select the Picture icon from the Insert list in the right hand side column. I have chosen a picture of a neighbourhood cat lazing in the sun which I took on one of our walks. By default the picture will be inserted ‘Inline’ so it will be placed on the left hand side and your text will not ‘wrap around’ it. Any text that you insert after you have inserted the picture will simply push the picture further down the post Added to that, it will leave a large gap in your text next to the inserted picture. By default the picture will also use the ‘drop shadow’ style of border and will be of a small size. So let’s change its position within the text first of all.
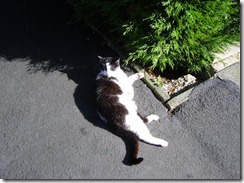 2. Click on the picture. The right hand side column now changes to the Picture menu to show you all the options for your picture. Firstly let’s make our text ‘wrap around’ the picture either on the left or the right of it. Click on the small arrow under Layout, text wrapping: and choose left or right hand side. Now note what happens to your text. The text will move and ‘wrap around’ your inserted picture!
Trouble is that it really looks rather untidy as our text is butting right up to the edge of our picture therefore making it hard to read. We can change that by giving the picture a margin at that side where the text is wrapping around it. So let’s alter that next.
3. Click on the picture to bring up the picture menu and then click on the black arrow under margins followed by selecting Custom Margins. If your picture is on the left hand side of your text, you will need to add a margin to the right hand side of your picture and if your picture is on the right hand side, then you will need to add a margin to the left. I have added a 10 margin to my picture. Now the text is no longer butting up to the edges of the picture and is much easier to read. Next I am going to add a border to my picture.
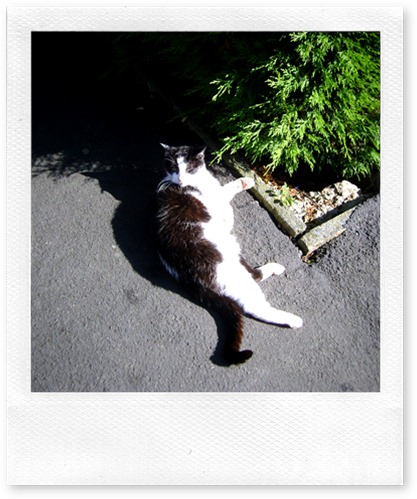
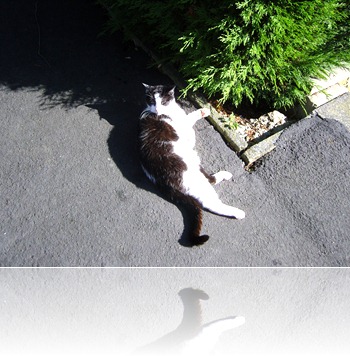
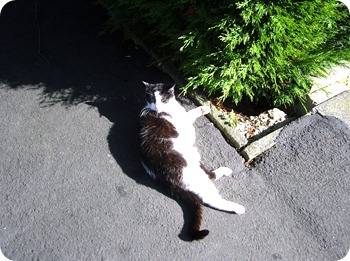
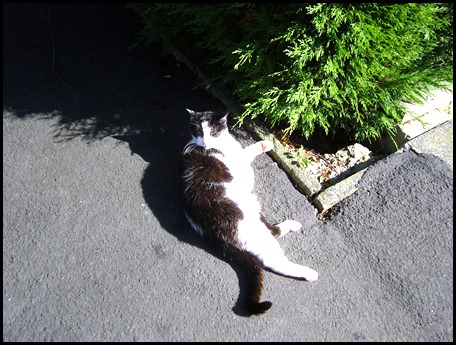
4. Under the Borders choice in the Picture menu, you will note that it already shows as Drop shadow. By clicking on the box, you are presented with a list of other types of border to choose from. These are as follows, None,Drop Shadow (default), Instant Photo, Photopaper,Reflection, Rounded Corners, Solid 1 pixel and Solid, 3 pixels. Try them all out to see how each makes your picture look. Some suit different pictures and also different blogs. The Instant Photo one makes your picture look like a Polaroid shot.
Here you can see some of the different borders applied. The instant photo, the Photopaper, the reflection and the rounded corners one. As you can see, you can really make any picture that you include inside your post look very attractive. But what if you want to make the picture larger than the default size? No problem!
5. Click on the picture again, and from the picture menu click on the Advanced tab. Here you can fully adjust the size of your picture and either use the default sizes available at the top or alternatively input your own size into the boxes provided. Its a good idea to keep the Lock ratio box checked unless you want a stretched picture. the default sizes offered are small (default) medium, large and original. You can customize these sizes if you wish but for now we will leave them as they are. Instead, let’s choose our own size by changing the width and/or height in the Size boxes.
6. Input your new size for your picture by adjusting the number in the width and/or height boxes. Your picture will then change to your custom size inside your draft post. I am going to change my picture to width 500 pixels. Because I am leaving the Lock ratio ticked as I wish to keep it the same, the height will automatically be altered as well. Now I have my new size. The text on the right moves narrower to make room for my wider picture. It now has a new border, the Solid 3 pixels one to make it stand out.
In my next post I’m going to show you other cool things that you can do with your pictures such as adding a caption, tilting them in your post, making them stand out by changing the contrast, and also trying out some cool effects on them.
TG
No comments:
Post a Comment
Say what you think