Inserting a full photo Album.
One of the coolest things that you can insert into any post is the Photo Album feature. This was introduced during the last big update to Live Writer. When would you feel like including a whole Photo Album into a post? Well, you might have been on a day trip or a holiday somewhere or just simply visited a place where you took quite a few photos. Maybe you attended someone’s wedding or christening or a family gathering. You don’t have to include lot’s and lot’s of photos either in order to make use of this feature, it still works just as well if you only have about five or six photographs or pictures that you would like to include in your blog.
So let’s take a look at inserting a Photo Album into our post. At this point in time, It also requires that you have a Windows Live ID. It’s easy to set one up and you can use your existing email address to get one, you do not have to have a Hotmail or Live email address. The reason for needing to have a Windows Live ID is that your photo album will be stored on Windows Live in your SkyDrive which is an online storage facility and can be fully configured by yourself for privacy if you only wish your photo album to be seen by certain people. I use this feature on both my Wordpress and Blogger blogs and then allow ‘anyone’ to be able to view them. You can find our more about SkyDrive from HERE. You have 25GB’s of space available, all free, so lot’s of photos can be stored up there!
 When you have set up a Windows Live ID then write your post and then decide whereabouts in it you intend to include your Photo Album. Click on Photo Album from the right hand side Menu column under Insert. Firstly you are asked to give your Photo Album a name, so type in a name into the Name box. Note the two tabs at the top of the window. The first one From Files allows you to include pictures and photos from your computer files. The second tab includes any photo files that you already have stored in your SkyDrive online. If you are new to SkyDrive then of course you won’t have any Photo Album files available at this time.

I have inserted some pictures from my computer that I took recently when we had all that snow. To choose your pictures from your files just click and drag across those photos that you want to include. You can always delete some or add some more if you like. As you can see, the album is displayed by default in an inline fashion with each photograph slightly overlapping the next one to it in a tilted fashion. At the moment its quite small in size and placed inline by default. Let’s change its position first of all. Let’s place it in the centre.
Click on the Photo Album to bring up the Photo Album menu on the right hand side. Now choose in Text Wrapping, Centre.

Your photo album will now move to the centre of your blog page. I feel that its too small. I want my Photo Album displayed using the full width of my blog page. By clicking on the whole album I can access the size blocks at either side, and by adjusting those using click and drag I can adjust the size of my photo album display. See below.

Ahh, that’s more like it! I can also change which photos are displayed as well by clicking on the Change Cover Pictures feature in the Photo Album Menu. Let’s try that shall we?

As you click on Change Cover pictures the order and placement of each photo changes. Even better, if you aren’t happy with this arrangement of your Photo Album in your blog post you can choose to display it differently. Under Album Style, click on the box that currently says Spread, and then select another Album Style from the drop down list. Let’s give Scatter a try!

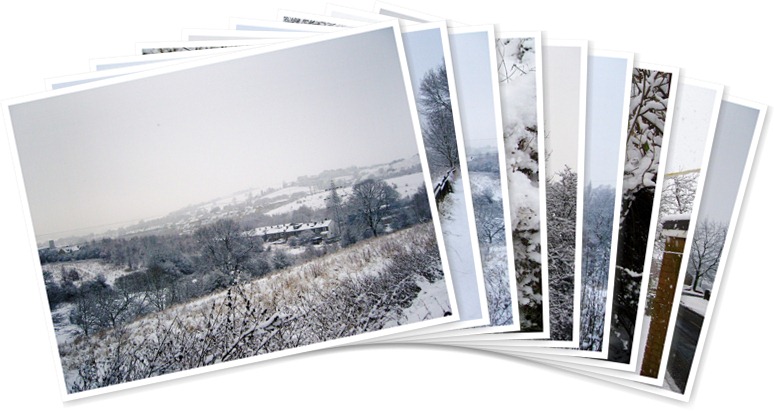
See how attractive your Photo Album now looks? How better to use this feature in Writer than simply including your photos one below the other or as an Hyperlink to an album! For our last look at how to display our Photo Album inside a post let’s try the Fan one. This choice is my particular favourite. Again you can change which photo is displayed on top of the ‘pile’ by clicking on Change Cover Pictures. Your readers can then just click on the View Full Album under the display to go and view them all on your SkyDrive.
TG
No comments:
Post a Comment
Say what you think